

Additional information
| Weight | 0.125 kg |
|---|---|
| Dimensions | 10 × 10 × 2 cm |
| Colour | RED, BLUE, GREEN, LEMON YELLOW, ORANGE, PINK, PURPLE, ICE BLUE, 3000K, 6000K |
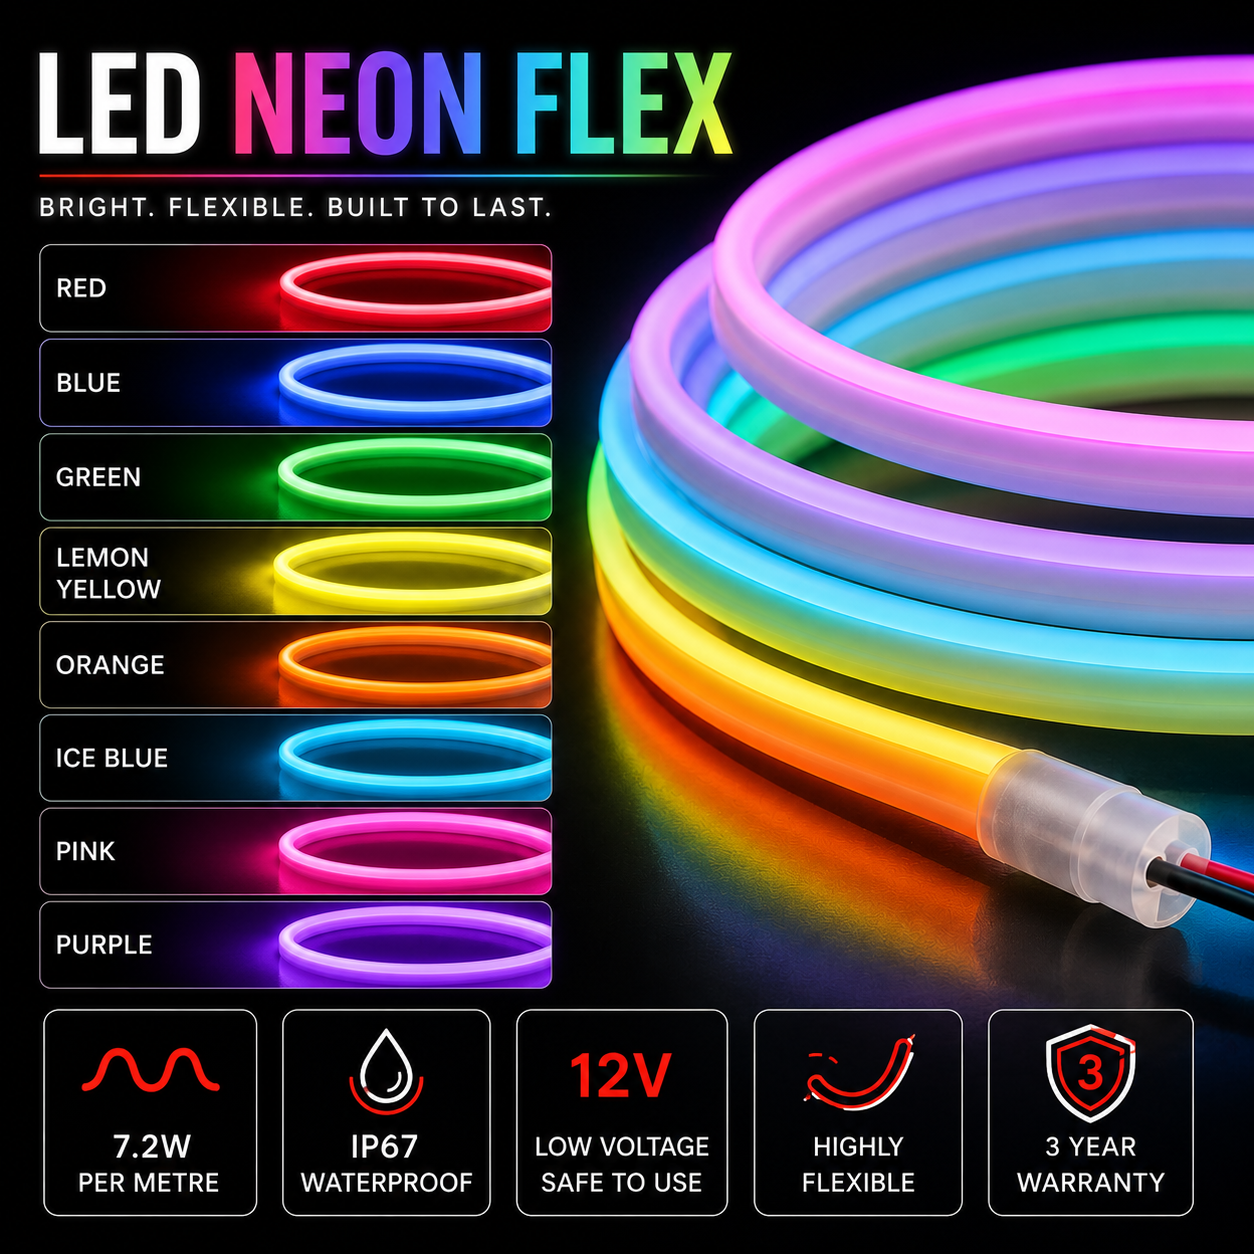

* Actual products may vary slightly due to continuous design enhancments.
| Strip Light Length (M) | Power Supply Required |
| 1-3M | 36W Power Supply |
| 4-7M | 60W Power Supply |
| 8-11M | 100W Power Supply |
| 12-17M | 120W Power Supply |
| 18 - 23M | 150W Power Supply |
| 24 - 48M | 400W Power Supply |
Essential Components for a 12V Neon Flex Installation
Important: Always match the power supply voltage to the Neon Flex. For a 12V Neon Flex, use a 12V DC power supply. For outdoor installations, ensure the Neon Flex, connectors, power supply, and connections have suitable IP ratings for the environment.
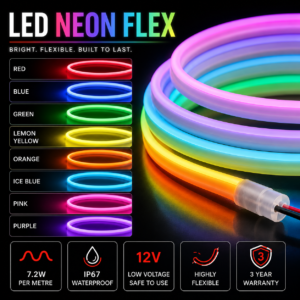
12V | 6mm x 12mm | Various Colours
Online Price:
R124.00 Original price was: R124.00.R113.00Current price is: R113.00. Vat Incl.
| Input | 12V |
| Watts Per M | 7.5W |
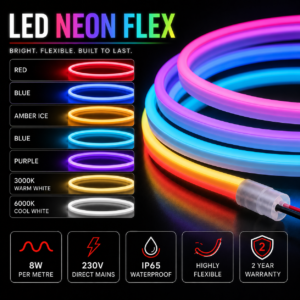
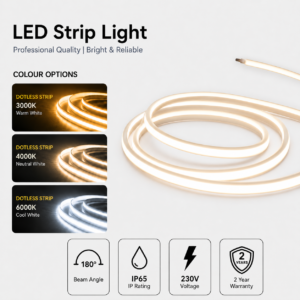
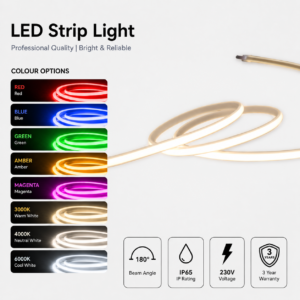
| Colours | Red, Blue, Green, Yellow, Orange, Pink, Purple, Ice blue, Warm White, Daylight |
| Waterproof | Water Resistant |
| Dimensions | 6mm x 12mm |
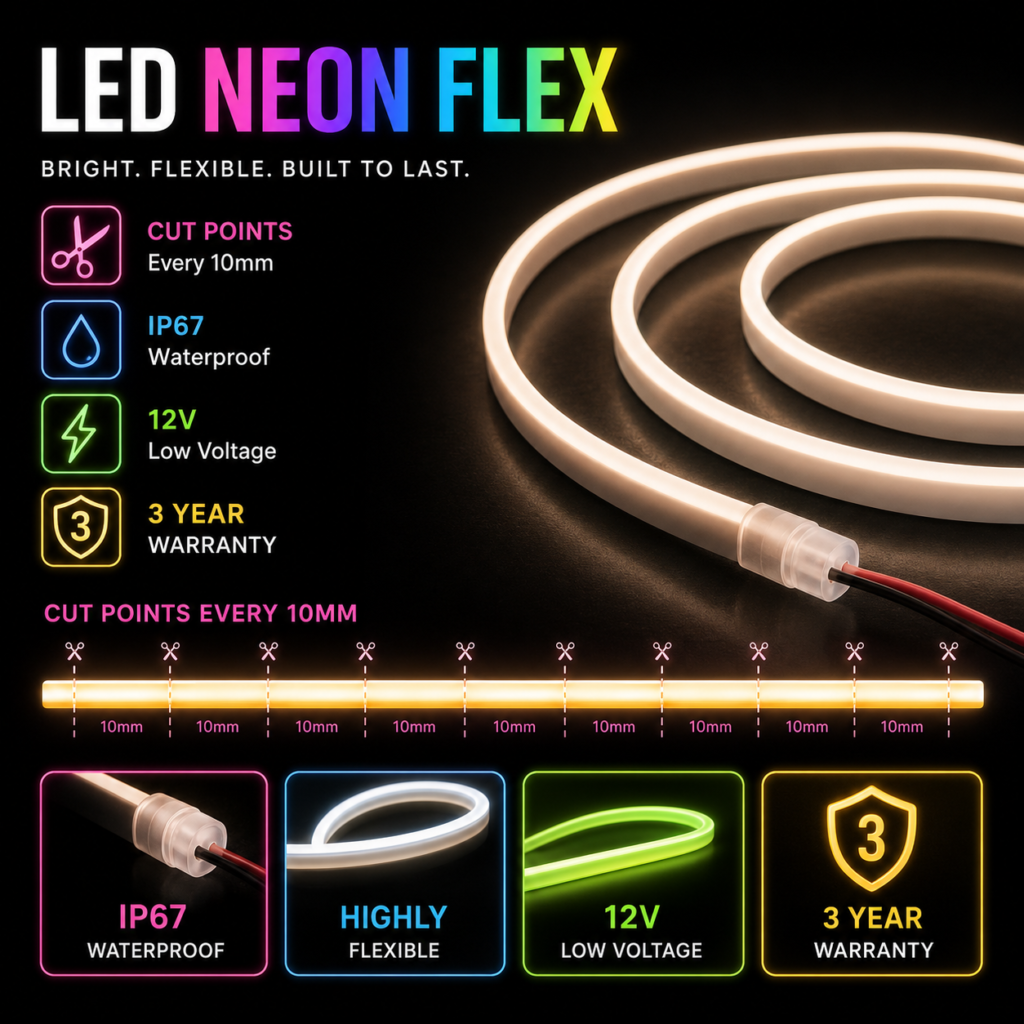
| Cut Points | Every 10mm |
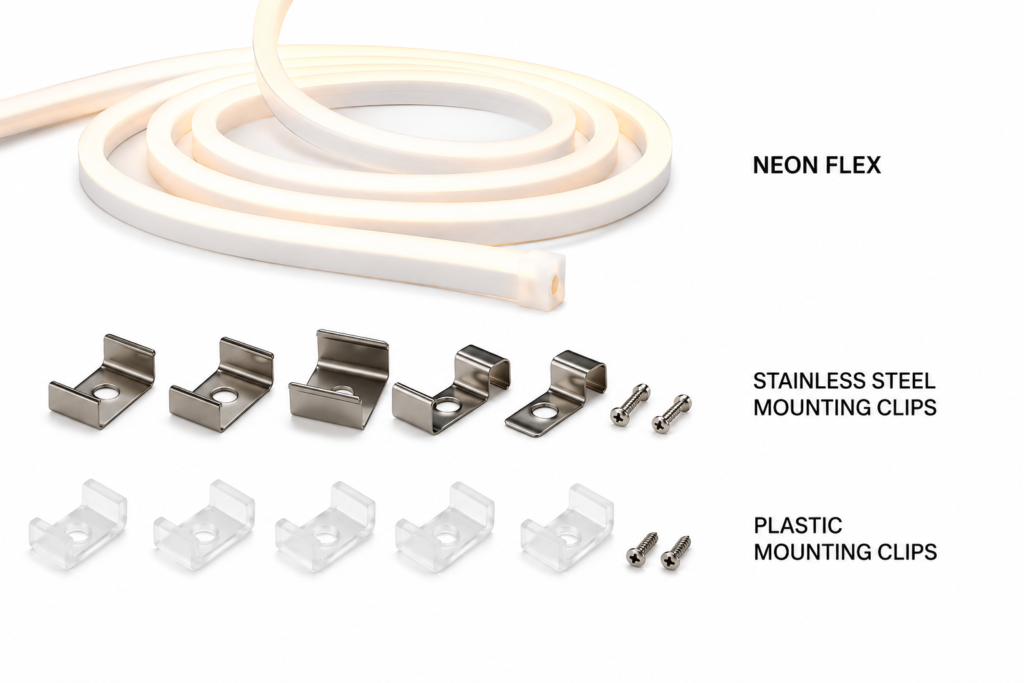
| Mounting | Clips |
| Warranty | 3 Years |
383 in stock (can be backordered)




| Strip Light Length (M) | Power Supply Required |
| 1-3M | 36W Power Supply |
| 4-7M | 60W Power Supply |
| 8-11M | 100W Power Supply |
| 12-17M | 120W Power Supply |
| 18 - 23M | 150W Power Supply |
| 24 - 48M | 400W Power Supply |
Essential Components for a 12V Neon Flex Installation
Important: Always match the power supply voltage to the Neon Flex. For a 12V Neon Flex, use a 12V DC power supply. For outdoor installations, ensure the Neon Flex, connectors, power supply, and connections have suitable IP ratings for the environment.
1. What accessories do I require for a basic installation and how do I connect them?
For a general or basic 12V Neon Flex installation, you would require:
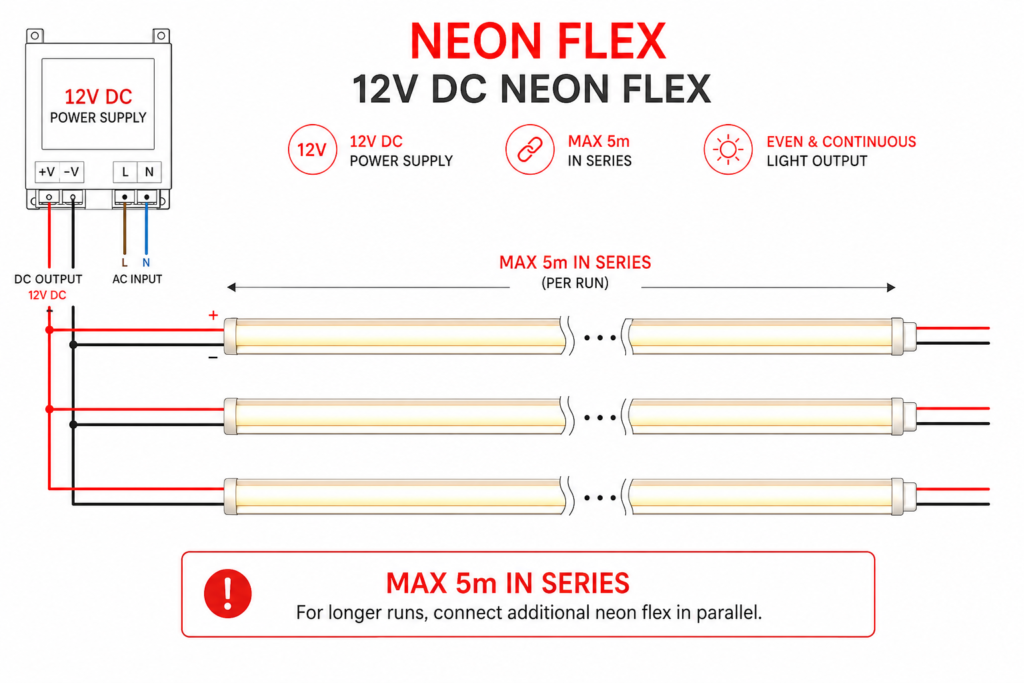
See the installation diagram for guidance on the correct connection method.
2. Are there any other items or optional extras that I may need?
Depending on your application, you may also need:
3. What Voltage Power Supply would I use?
Always use a Power Supply with the same voltage as the Neon Flex.
For 12V Neon Flex:
12V Neon Flex → 12V DC Power Supply
Never connect 12V Neon Flex directly to 230V AC mains power.
4. What size Power Supply would I need?
Calculate the required power using:
Neon Flex Length (M) × Power (Watts/M) + 20%
Example:
5M × 10 Watts/M = 50 Watts
50 Watts + 20% = 60 Watts
Therefore, a 60W or larger 12V DC Power Supply would be suitable, provided it meets the product's electrical requirements.
For additional headroom and long-term reliability, a correctly rated larger power supply can be selected.
5. What are the benefits of using mounting channels or profiles?
Suitable Neon Flex mounting channels or profiles can help to:
Always ensure the selected channel is compatible with the specific size and profile of the Neon Flex.
6. Can I install 12V Neon Flex myself?
Yes. The 12V DC side of a Neon Flex installation is relatively straightforward when compatible components are used.
However, any connection of the Power Supply to 230V AC mains electricity should be completed according to local electrical regulations. If you are unsure about mains wiring, consult a qualified electrician.
7. Do you have DIY Kits with everything included?
Yes. We have a variety of DIY lighting kits designed to simplify installations. Depending on the kit, these can include the required Neon Flex, power supply, connectors and accessories, together with installation instructions.
8. Can I shock myself?
The 12V DC output of the Power Supply is low voltage, so the risk of a dangerous electric shock under normal conditions is significantly lower than with mains electricity.
However, the 230V AC input side of the Power Supply is dangerous. Always make sure the mains supply is isolated before working on the electrical connections.
9. Can 12V Neon Flex bend around corners or curved shapes?
Yes. One of the main advantages of Neon Flex is its flexibility, making it suitable for curves, contours, lettering, shapes and architectural features.
However, Neon Flex should not be sharply bent, folded, twisted or forced beyond its specified minimum bend radius.
Always check the bending direction of the specific Neon Flex before installation, as some products are designed for horizontal bending while others are designed for vertical bending.
10. Can I cut the Neon Flex?
Yes, where the product is designed to be cut. Only cut Neon Flex at the manufacturer's designated cut points.
Cutting outside the marked cut points may damage the circuit or cause sections to stop working.
After cutting, the exposed end must be properly terminated using the appropriate connector, end cap and sealing method, particularly for outdoor or waterproof installations.
11. How is the Neon Flex mounted?
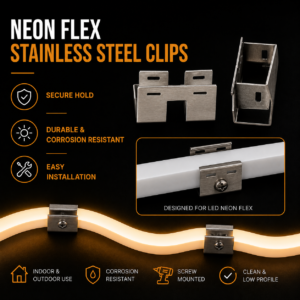
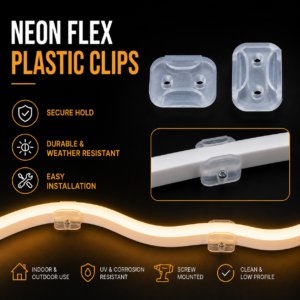
Neon Flex can be installed using suitable mounting clips, brackets, channels or profiles, depending on the product and application.
The mounting surface should be clean, dry, smooth and free from grease or dust.
Avoid relying solely on adhesive for permanent outdoor installations, particularly where the Neon Flex will be exposed to heat, moisture or weather.
12. Can 12V Neon Flex be dimmed?
Yes. 12V Neon Flex can generally be dimmed when used with a compatible 12V LED dimmer or controller.
The dimmer or controller should be installed on the 12V DC side of the Power Supply and must be correctly rated for the total Neon Flex load.
For RGB, RGBW, CCT or colour-changing Neon Flex, use a controller specifically compatible with the product.
13. Can Neon Flex be used outdoors?
Yes, provided you select a Neon Flex with an appropriate IP rating for the environment.
For outdoor or exposed installations:
The IP rating of the Neon Flex alone does not make the entire installation waterproof—the connections and power supply must also be appropriately protected.
12V Neon Flex Installation & Setup
Installing 12V Neon Flex is straightforward when the correct components are selected and installed correctly.
Step 1: Plan Your Installation
Measure the installation area and determine the total Neon Flex length required. Calculate the total wattage and select a suitable 12V DC power supply with at least 20% spare capacity.
Calculation: Watts per metre × Total length + 20%
Step 2: Prepare the Mounting Surface
Ensure the surface is clean, dry, smooth, and free from dust or grease. Mark out the installation route and identify where the power supply and connections will be positioned.
Step 3: Cut the Neon Flex
If required, cut the Neon Flex only at the manufacturer's marked cut points. Cutting outside these points can damage the product or cause sections not to illuminate correctly.
Step 4: Connect the Neon Flex
Connect the Neon Flex to the 12V DC power supply using compatible connectors or by soldering where appropriate. Always observe the correct polarity (+ and –).
For waterproof installations, ensure all cut ends and connections are properly sealed using the correct end caps and sealant.
Step 5: Test Before Mounting
Briefly power the Neon Flex to confirm that it illuminates correctly and that all connections are working before permanently securing it.
Step 6: Secure the Neon Flex
Use suitable mounting clips, brackets, or channels to secure the Neon Flex. Position it correctly to achieve the desired lighting effect.
Avoid sharp bends, twisting, crushing, or excessive force, and always stay within the manufacturer's specified minimum bend radius.
Step 7: Connect to Power
Connect the 12V DC power supply to the mains according to local electrical regulations. If you're unsure about mains wiring, consult a qualified electrician.
Installation Tips
Following these steps will help provide consistent illumination, reliable performance, and a long service life from your 12V Neon Flex installation.
Common Issues & Solutions
Neon Flex won't turn on
Neon Flex is dim or unevenly lit
Only part of the Neon Flex lights up
Flickering lights
Neon Flex is difficult to mount or keeps moving
Neon Flex has been damaged during installation
Recommendations
12V Neon Flex Safety Tips
To ensure safe installation and reliable operation, follow these important safety guidelines:
Following these recommendations will help maximise the performance, reliability, safety, and lifespan of your 12V Neon Flex installation.
12V Neon Flex Applications & Use Cases
12V Neon Flex is a versatile lighting solution for a wide range of residential, commercial, architectural, and decorative applications. Its flexible silicone profile produces a smooth, continuous glow, making it ideal for creating clean illuminated lines, curves, edges, and custom shapes.
Common applications include:
With its 12V low-voltage design and flexible profile, Neon Flex is particularly suited to installations requiring smooth, continuous illumination around curves, corners, edges, contours, and custom shapes.
For outdoor installations, the Neon Flex and all electrical connections must have an appropriate IP rating for the environment. Weather-exposed installations should use suitable waterproofing, compatible connectors, and an appropriately rated 12V power supply. Compatible dimmers and controllers can also be used where supported, allowing brightness and lighting effects to be adjusted for functional, architectural, and decorative applications.
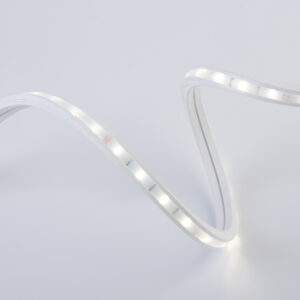
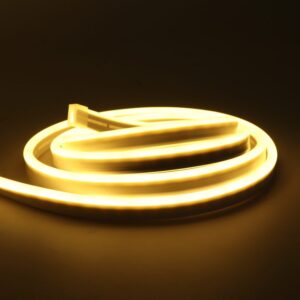
Our 12V Neon Flex provides smooth, continuous illumination with a modern, flexible design, making it ideal for both decorative and functional lighting applications. Encased in a durable silicone housing, it produces a uniform, dot-free glow that's perfect for signage, edge lighting, display cabinets, shelving, architectural features, contours, cove lighting, and residential or commercial installations. Its flexible design allows it to follow curves and shapes, providing clean and professional-looking illuminated lines.
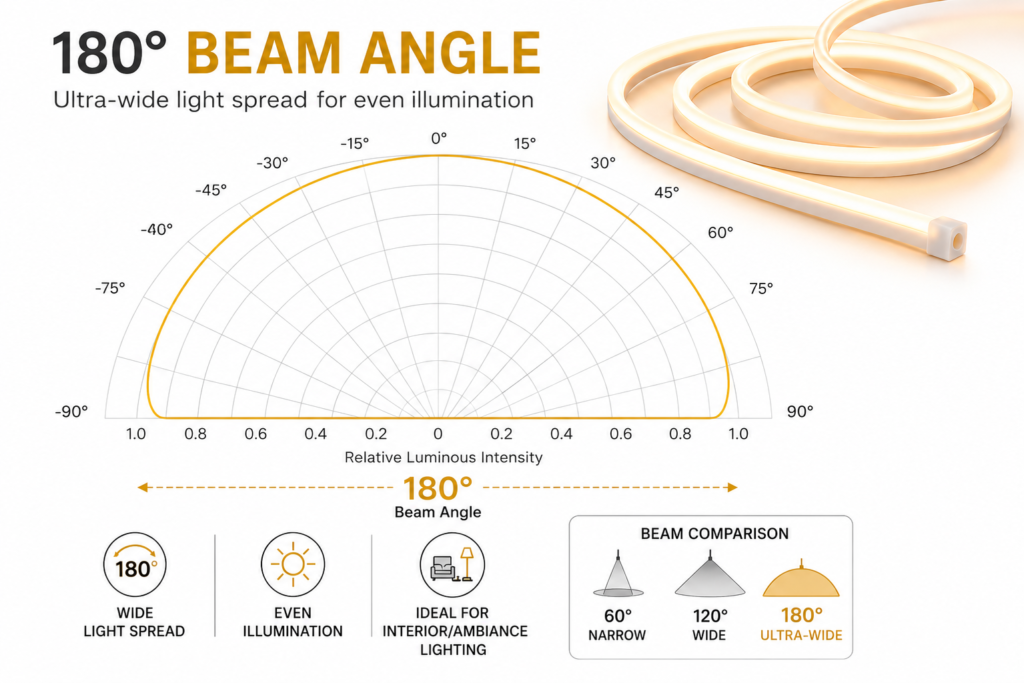
LEDZ LED Neon Flex lights are manufactured using High Efficient & High Bright LED Chips with a Color Rendering Index (CRI) >80, designed for bright, uniform illumination (180° Beam Angle) and for use across residential, commercial, and signage applications.
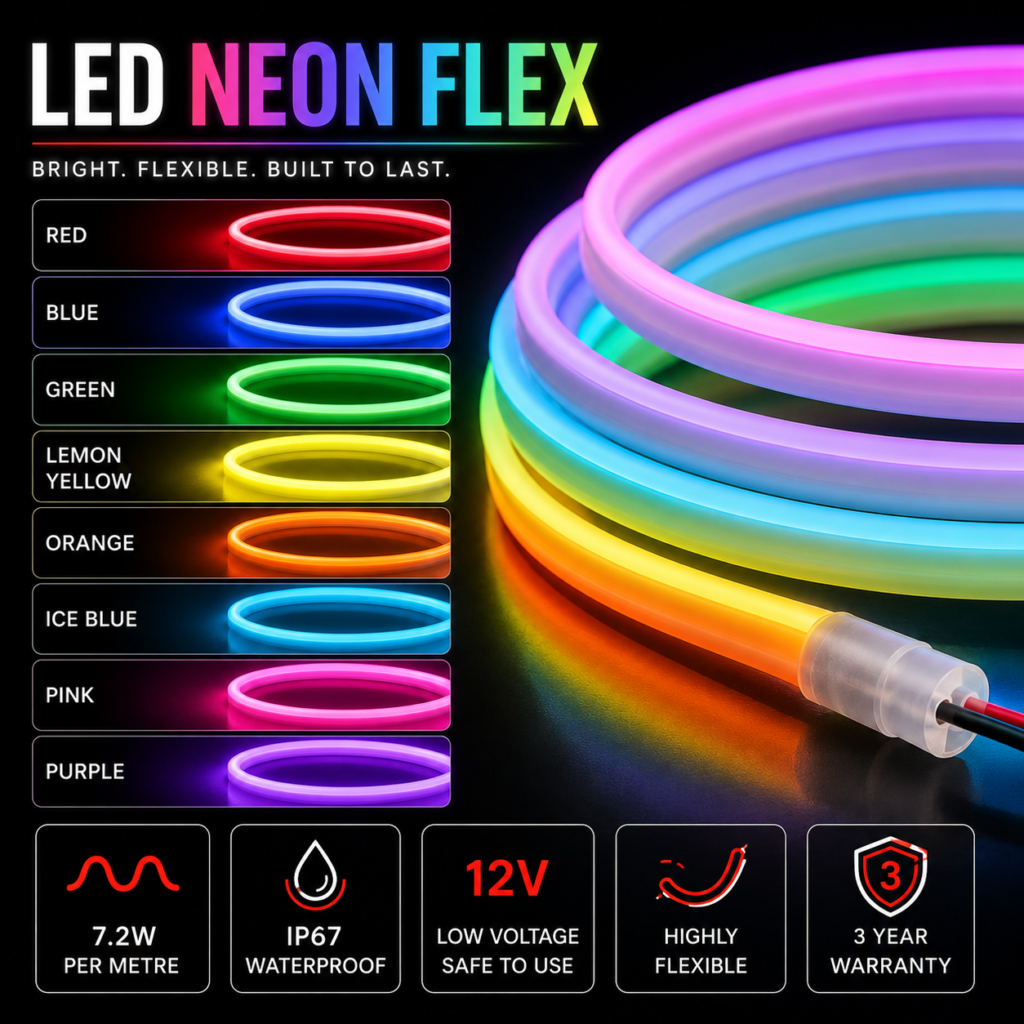
| Weight | 0.125 kg |
|---|---|
| Dimensions | 10 × 10 × 2 cm |
| Colour | RED, BLUE, GREEN, LEMON YELLOW, ORANGE, PINK, PURPLE, ICE BLUE, 3000K, 6000K |
WhatsApp us
Jesse –
This is a fantastic product!